There’s nothing quite like the comforting smell of a braised chuck roast simmering in your kitchen. It’s the kind of meal that feels like a warm hug after a long day—rich, tender, and packed with flavor. Whether you’re cooking for your family or hosting a cozy dinner with friends, this classic dish is guaranteed to impress without adding stress to your routine. If you’ve ever felt intimidated by the thought of slow-cooking a large cut of beef, don’t worry—you’re not alone. But here’s the good news: braising is as straightforward as it is forgiving.
With the right steps, even beginners can transform a tough cut of meat into a melt-in-your-mouth masterpiece. In this guide, you’ll learn everything you need to know about braising chuck roast, from picking the right cut to serving it like a pro.
Table of Contents
What Is Braised Chuck Roast?
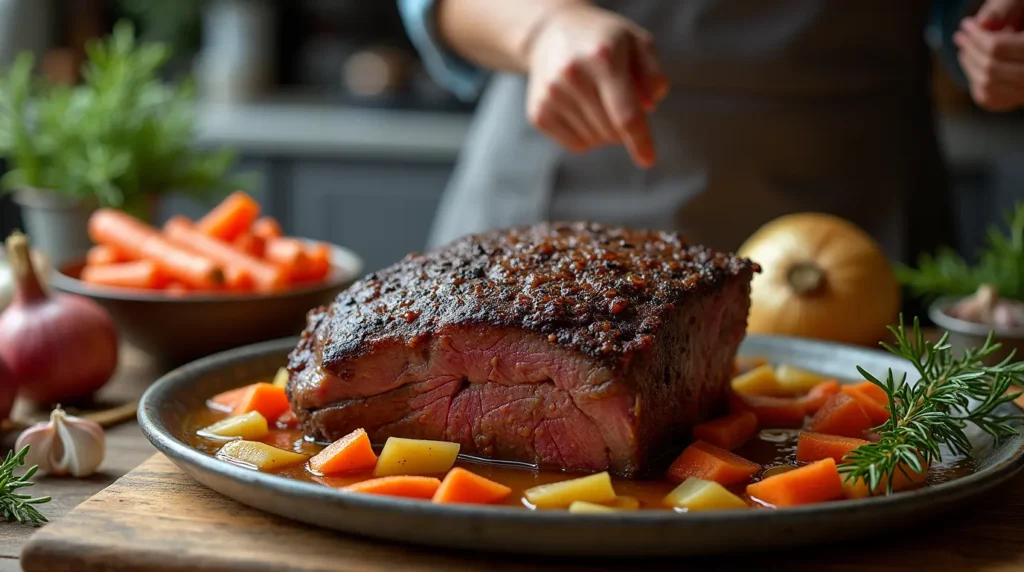
Braising is a cooking method that takes tougher cuts of meat, like chuck roast, and turns them into something irresistibly tender. It’s all about cooking low and slow, using a combination of heat, moisture, and time to break down the meat’s connective tissues. Chuck roast, which comes from the shoulder area of the cow, is perfect for braising. It’s affordable, widely available, and has just the right amount of fat and marbling to create deep, beefy flavors when cooked properly. If you’re wondering what makes this cut so special, it’s the combination of texture and flavor—it’s like the beef equivalent of comfort food.
Why Braising Works So Well for Braised Chuck Roast
Braising isn’t just a fancy cooking term; it’s a foolproof way to cook cuts of meat that might otherwise be tough or dry. Here’s why braising and chuck roast are a match made in culinary heaven: Tenderizes Tough Cuts: The low-and-slow method breaks down collagen and connective tissue, making the meat fork-tender.
Flexible Cooking Methods: Whether you prefer using the oven, stovetop, or slow cooker, braising adapts to your needs, making it easy to fit into your schedule and kitchen setup.
How to Braise Chuck Roast: Step-by-Step

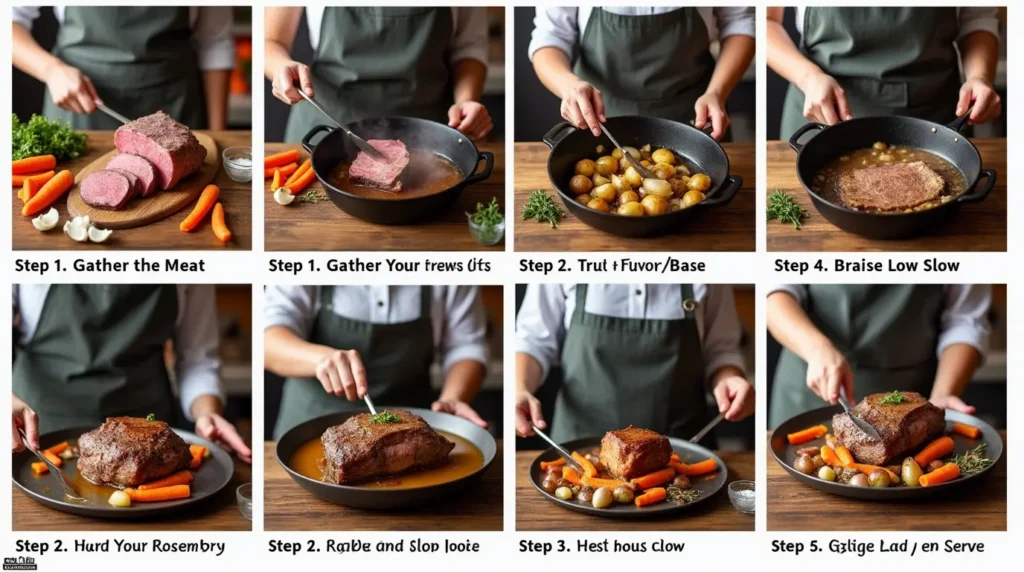
If you’re ready to tackle this hearty dish, here’s your game plan. Follow these steps, and you’ll have a meal that looks and tastes like it came straight out of a chef’s kitchen.
Step 1: Gather Your Ingredients
Before you get started, make sure you have everything you need. Here’s a quick checklist:
| Ingredient | Quantity |
|---|---|
| Chuck roast | 3–4 lbs |
| Beef broth | 2 cups |
| Onions | 2, sliced |
| Garlic cloves | 4, minced |
| Carrots | 4, chopped |
| Potatoes | 4, quartered |
| Fresh rosemary | 2 sprigs |
| Olive oil | 2 tbsp |
| Salt and pepper | To taste |
Use fresh herbs and high-quality broth for the best results. If you’re feeling adventurous, a splash of red wine can add a rich depth of flavor.
Step 2: Sear the Meat
Searing might seem like an optional step, but trust me—it’s worth it. Browning the chuck roast before braising locks in flavor and creates a delicious crust. Heat olive oil in a large, heavy-bottomed pot or Dutch oven over medium-high heat. Season the roast generously with salt and pepper. Sear the roast on all sides until golden brown, about 4–5 minutes per side. Don’t overcrowd the pan, and resist the urge to move the meat while it’s searing. Let it develop that caramelized crust—it’s where the magic happens.
Step 3: Build Your Flavor Base
This is where the fun begins. After searing the meat, you’ll start layering in flavors that will infuse every bite. Remove the roast and set it aside. Add onions and garlic to the same pot, scraping up the browned bits from the bottom. Sauté until softened, about 3–4 minutes. Add your broth, wine (if using), and fresh rosemary. Stir to combine.
Step 4: Braise Low and Slow
Now it’s time to let the oven or slow cooker do the heavy lifting. Return the roast to the pot, nestling it into the liquid. Add carrots and potatoes around the roast. Cover tightly with a lid or foil. Oven Method: Preheat to 325°F and cook for 3–4 hours. Slow Cooker Method: Cook on low for 6–8 hours or high for 4–5 hours. The roast is done when it’s fork-tender, meaning you can easily pull it apart with a fork.
Step 5: Rest, Carve, and Serve
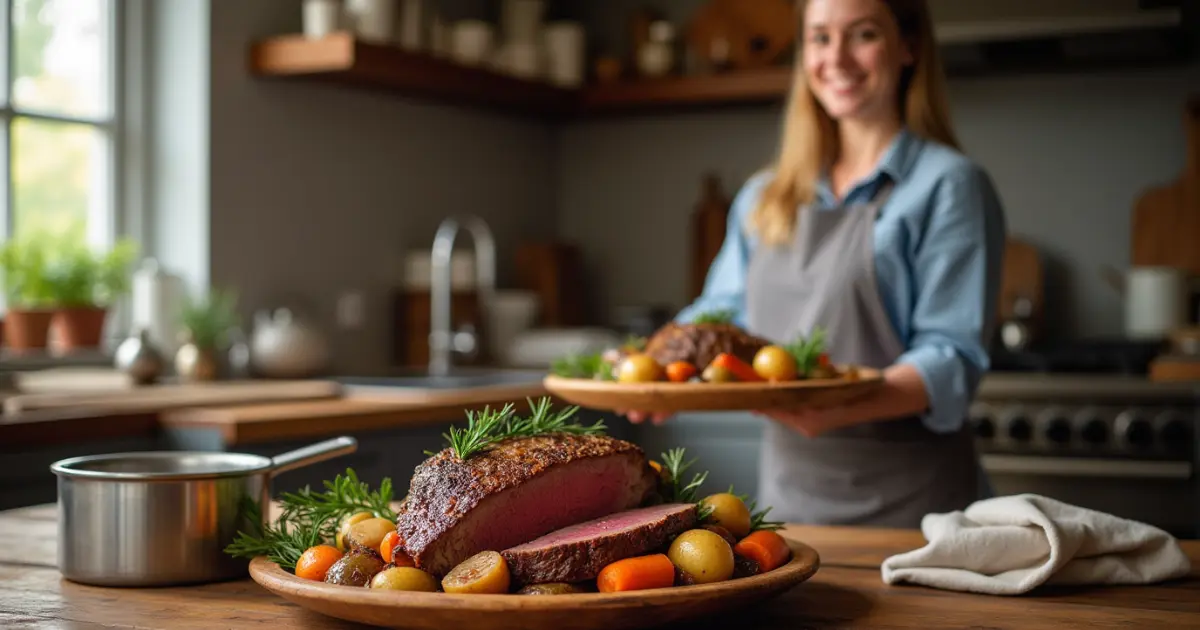
Patience is key! Let the roast rest for 15–20 minutes before carving. This allows the juices to redistribute, ensuring every slice is moist and flavorful. When carving, slice against the grain for the most tender results. Serve with the vegetables and spoon the braising liquid over the top for an extra burst of flavor.
Tips for Braising Like a Pro
Don’t Skip Searing: It’s the secret to developing deep, rich flavors. Season Generously: Salt brings out the natural flavors of the beef. Use the Right Pot: A Dutch oven or heavy-bottomed pot retains heat and distributes it evenly. Check Liquid Levels: Make sure the meat stays partially submerged during cooking.
What to Serve with Braised Chuck Roast
A braised chuck roast pairs beautifully with hearty sides. Here are a few ideas to complete your meal: Mashed Potatoes: Creamy and buttery, they soak up the braising liquid like a dream. Roasted Vegetables: Add a pop of color and texture to your plate. Crusty Bread: Perfect for mopping up every last drop of sauce. Wine Pairing: A bold red like Cabernet Sauvignon or Syrah complements the roast’s rich flavors.
Storage and Leftover Ideas

Braised chuck roast is just as good the next day, so don’t let leftovers go to waste.
Storage Tips
Refrigerate in an airtight container for up to 4 days. Freeze for up to 3 months; thaw overnight in the fridge before reheating.
Creative Leftover Ideas
Beef Sandwiches: Pile shredded roast onto a crusty roll with horseradish sauce. Hearty Stew: Add leftover beef and veggies to a pot of broth for a quick stew. Tacos: Shred the beef and serve in tortillas with salsa and avocado.
FAQ Section for Braised Chuck Roast
What’s the difference between braising and roasting?
Braising involves cooking meat slowly in a liquid, such as broth or wine, which helps tenderize the meat while infusing it with flavor. Roasting, on the other hand, uses dry heat to cook the meat, creating a crispy, caramelized exterior while keeping the inside juicy.
What’s the best liquid for braising chuck roast?
Beef broth is a classic choice because it brings out the roast’s natural flavors. However, you can also experiment with red wine for a deeper, more robust taste, beer for a hint of malty sweetness, or even a combination of liquids. Here’s a guide on using wine and other liquids to create the perfect braising base.
How do I know when the roast is done?
The roast is ready when it’s fork-tender, meaning you can easily pull it apart with a fork. For accuracy, use a meat thermometer—the internal temperature should be between 190°F and 205°F for optimal tenderness. Let the roast rest for about 15–20 minutes before serving to lock in the juices.
Can I make braised chuck roast ahead of time?
Absolutely! Braised chuck roast often tastes even better the next day as the flavors develop. Simply refrigerate it in an airtight container and reheat it gently on the stovetop or in the oven, adding a bit of broth to keep it moist.
What are some side dishes that pair well with braised chuck roast?
Classic pairings include creamy mashed potatoes, roasted vegetables, or crusty bread to soak up the flavorful braising liquid. For a unique twist, try serving it with polenta, buttered noodles, or a bold-flavored rice dish like Jollof rice.
Final Thoughts
Braising a chuck roast takes a little time, but the results are absolutely worth it. From the moment you begin prepping to the first savory bite of tender, flavorful beef, a braised chuck roast delivers on every level. Whether you’re making it for a special celebration or a relaxed weeknight meal, this recipe has everything you need to make your braised chuck roast unforgettable. If you’re looking for another flavorful way to enjoy beef, try this Beginner’s Guide to Smoking a Chuck Roast to check out another hearty option. For side dishes, consider pairing it with the techniques shared in 5 Easy Steps to Make the Best Salmon and Rice Recipe for Dinner for a balanced meal.
So, grab your ingredients, tie on that apron, and let the incredible aroma of slow-cooked perfection fill your kitchen. Have your own tips or a favorite way to prepare this dish? Share them in the comments below—we’d love to hear your ideas!

